Materials that matter (and what you can skip)
Paper, paint, brushes and a simple setup: what to buy first and what can wait.

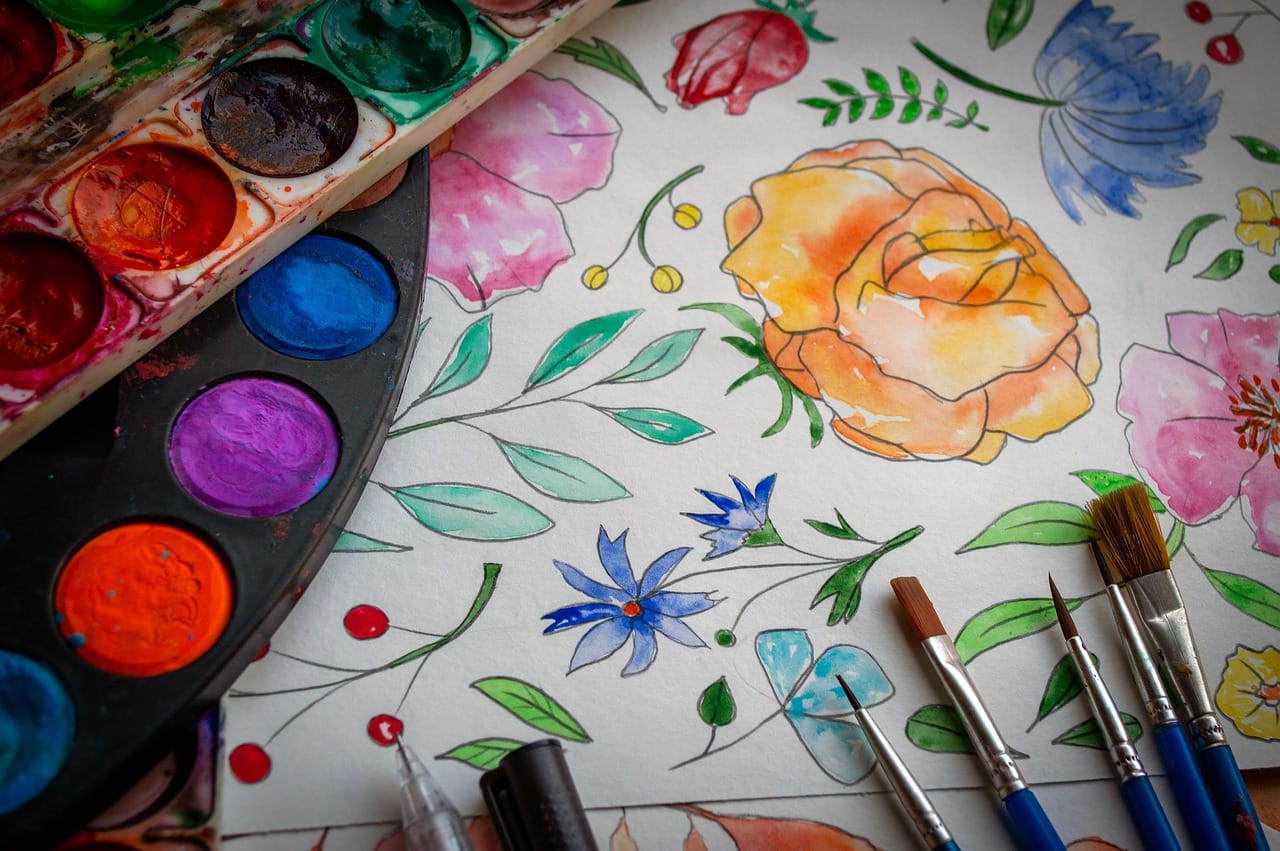
Watercolour has a reputation for being difficult, and much of that reputation comes from bad materials. Cheap paper buckles, student paints turn chalky and a worn brush will not hold a point. The good news is that you need very little. This lesson covers what to buy, what to skip and how to set up a small space where you can paint in ten minutes.
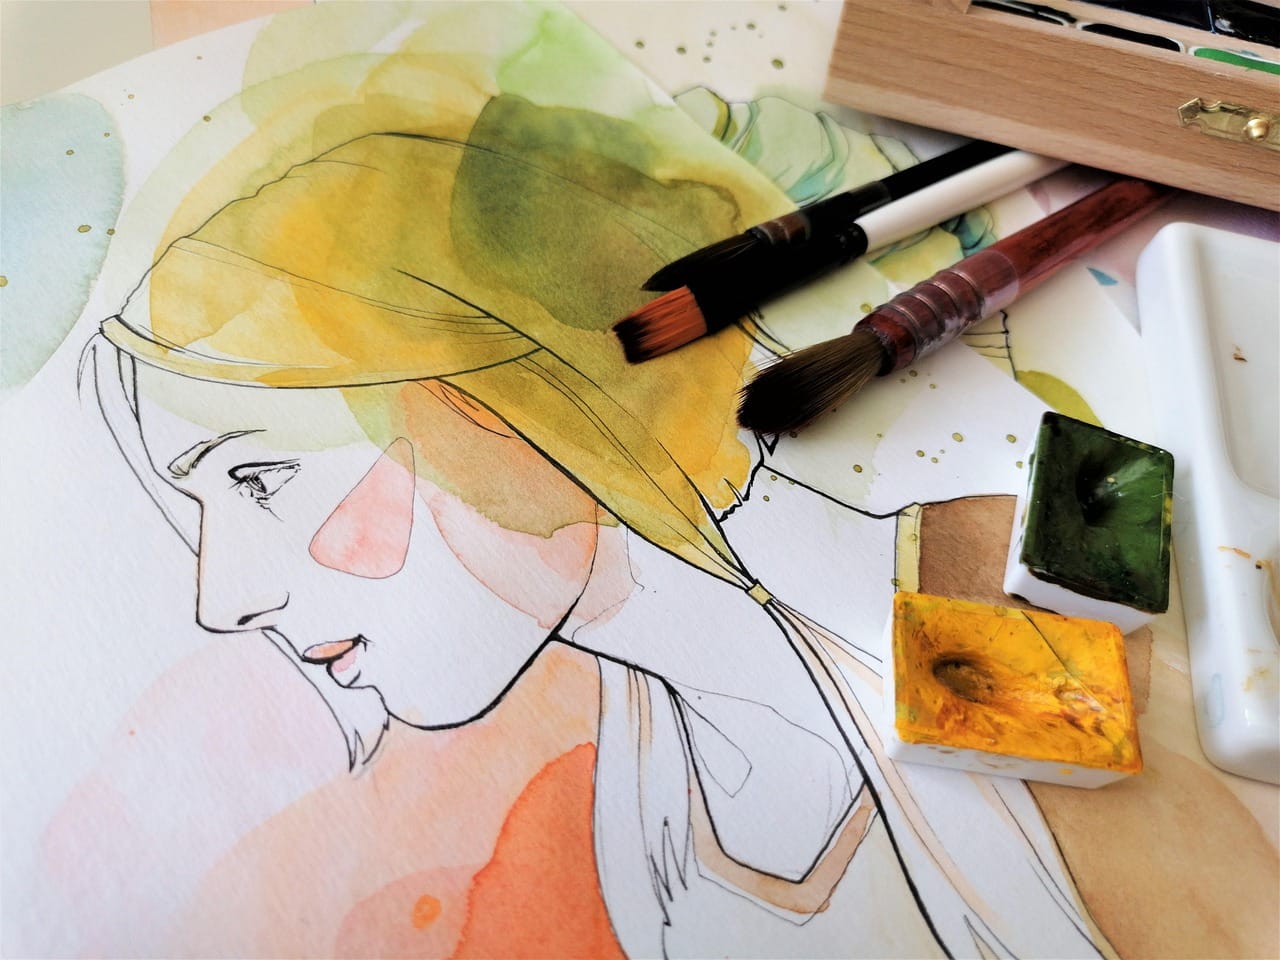
Paper: the one place not to save money
If you buy only one good thing, make it paper. Watercolour paper is heavy so that it can take a lot of water without wrinkling. Look for 300 gsm (140 lb) paper. Lighter paper can work for sketches, but it will cockle as soon as you lay down a wash.
Paper comes in three surfaces:
- Hot-pressed is smooth. It is good for fine detail and botanical work, but washes dry quickly and show every edge.
- Cold-pressed has a light texture. It is the best choice for beginners because it forgives mistakes and holds water well.
- Rough has a strong texture that breaks up the paint. It is lovely for landscapes but harder to control.
Cotton paper holds water longer than wood-pulp paper, which gives you more time to work. A pad of cotton, cold-pressed paper in A4 size is plenty for this course.
Paint: pans or tubes?
Watercolour paint comes in small solid blocks called pans, or in tubes of soft paint. Both work. Pans are tidy and easy to carry; tubes are better when you want to mix a lot of one colour quickly. Many painters squeeze tube paint into empty pans and let it dry, which gives the best of both.
The more important choice is quality. Artist-grade paint has more pigment and less filler than student-grade paint. The colours are brighter and they mix more cleanly. You do not need many colours. A limited palette teaches you to mix, and mixing is where watercolour becomes interesting.
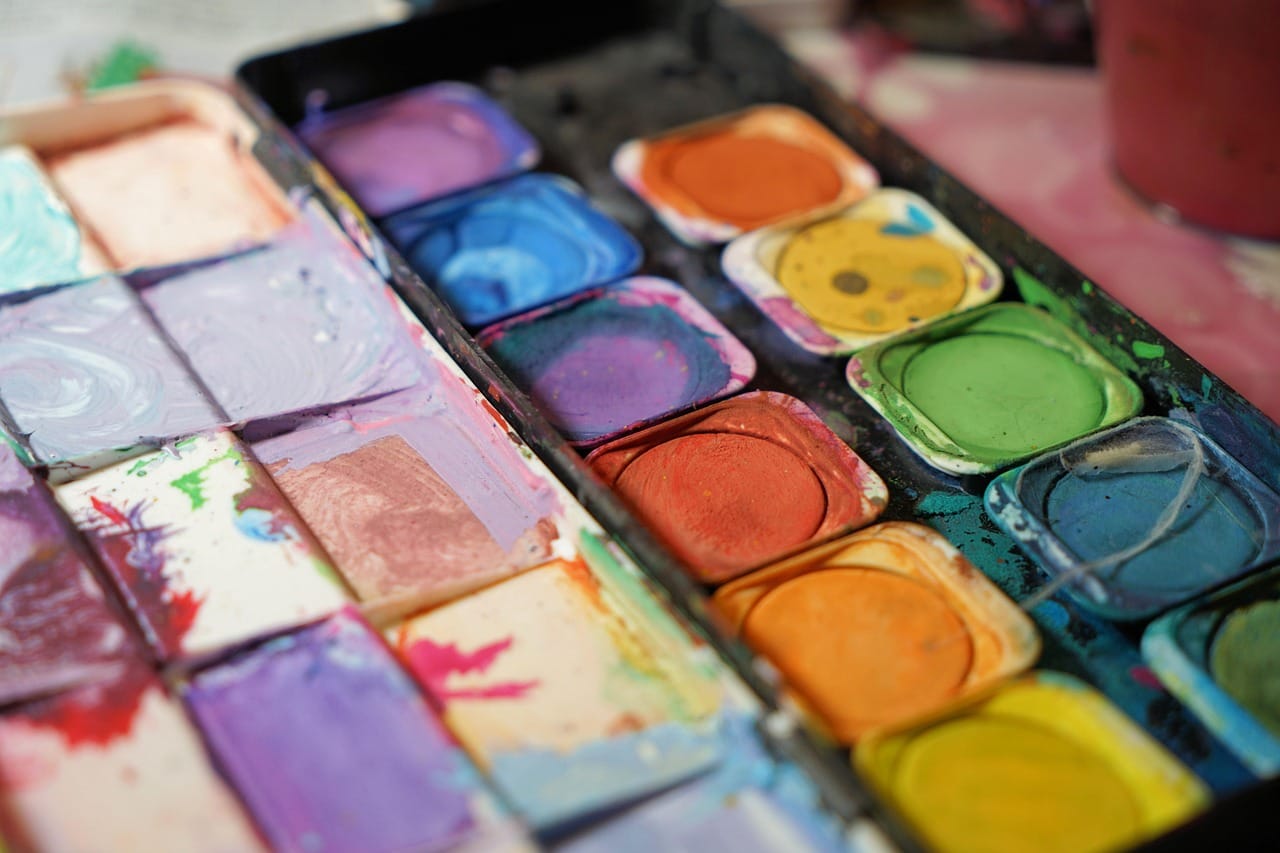
A good starting palette:
| Colour family | Warm version | Cool version |
|---|---|---|
| Yellow | New gamboge | Lemon yellow |
| Red | Pyrrol scarlet | Quinacridone rose |
| Blue | Ultramarine | Phthalo blue |
With a warm and a cool version of each primary, you can mix clean greens, rich violets and a range of greys. Add a brown such as burnt sienna if you like, but try to mix everything else.
Brushes
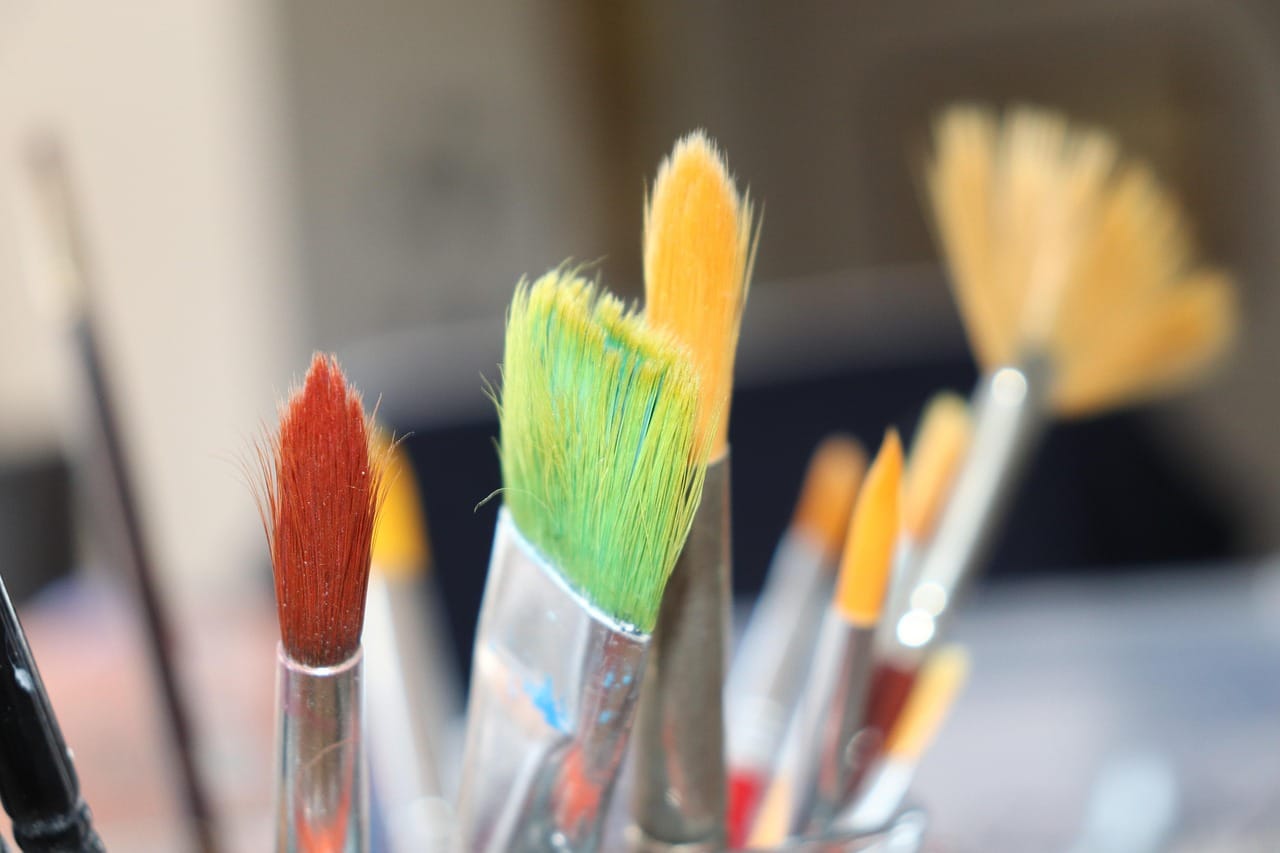
Start with two brushes: a round size 10 or 12 with a good point, and a flat brush about 2 cm wide for washes. Synthetic brushes are fine and far cheaper than sable. A good round brush does most of the work: it can lay a wide stroke when you press and a fine line when you lift.
The rest of your kit
- Two jars of water: one for rinsing, one for clean water
- A white palette or plate for mixing
- Paper towel or a cotton rag for lifting paint
- A pencil (HB) and a soft eraser
- Masking tape and a board a little bigger than your paper
That is everything. Set it up on the side of your painting hand, with the water furthest away so you do not reach across wet paper.
Do I need a special palette?
Can I use a sketchbook?
Setting up a painting corner
You do not need a studio. A corner of a table near a window is enough, as long as you can leave it set up. The less time it takes to start, the more often you will paint. Keep your board, paper, palette and brushes in one tray, and keep the tray where you can see it.
Light matters more than space. Daylight from the side is ideal, because it shows true colour and does not throw the shadow of your hand across the paper. If you paint in the evening, use a daylight bulb in a desk lamp and put it on the opposite side from your painting hand.
Put a piece of scrap paper next to your painting. Test every mix on it before it touches the real work. Over time these scraps become a record of what you learned, and many painters keep them.
A ten-minute warm-up
Musicians play scales before they play a piece. Painters can do the same. Before each session, fill a scrap sheet with simple marks:
- Ten straight lines with the tip of the round brush, as thin as you can.
- Ten strokes where you press down in the middle and lift at the end.
- Three small flat washes, the size of a stamp.
- Two colours dropped into each other while wet.
It takes ten minutes, it loosens your hand and it tells you how wet your paper and brush are on that day. Humidity changes how watercolour behaves, and the warm-up lets you notice before it matters.
Quick check
Which paper surface is best for beginners?
- Hot-pressed
- Cold-pressed
- Rough
Why is a limited palette useful?
- It is cheaper to replace
- It teaches you to mix colours
- It dries more slowly
What weight of paper should you look for?
- 90 gsm
- 190 gsm
- 300 gsm
Questions and discussion